How Do I Convert a Picture to 300 DPI? The Complete Guide
Have you ever tried to print a photo only to have it come out blurry or pixelated? That's often because the image's DPI (dots per inch) isn't high enough for print quality. The industry standard for crisp, professional-looking prints is 300 DPI. This guide will walk you through exactly what 300 DPI means, why it matters, and the most straightforward ways to convert your pictures to this high-resolution standard.
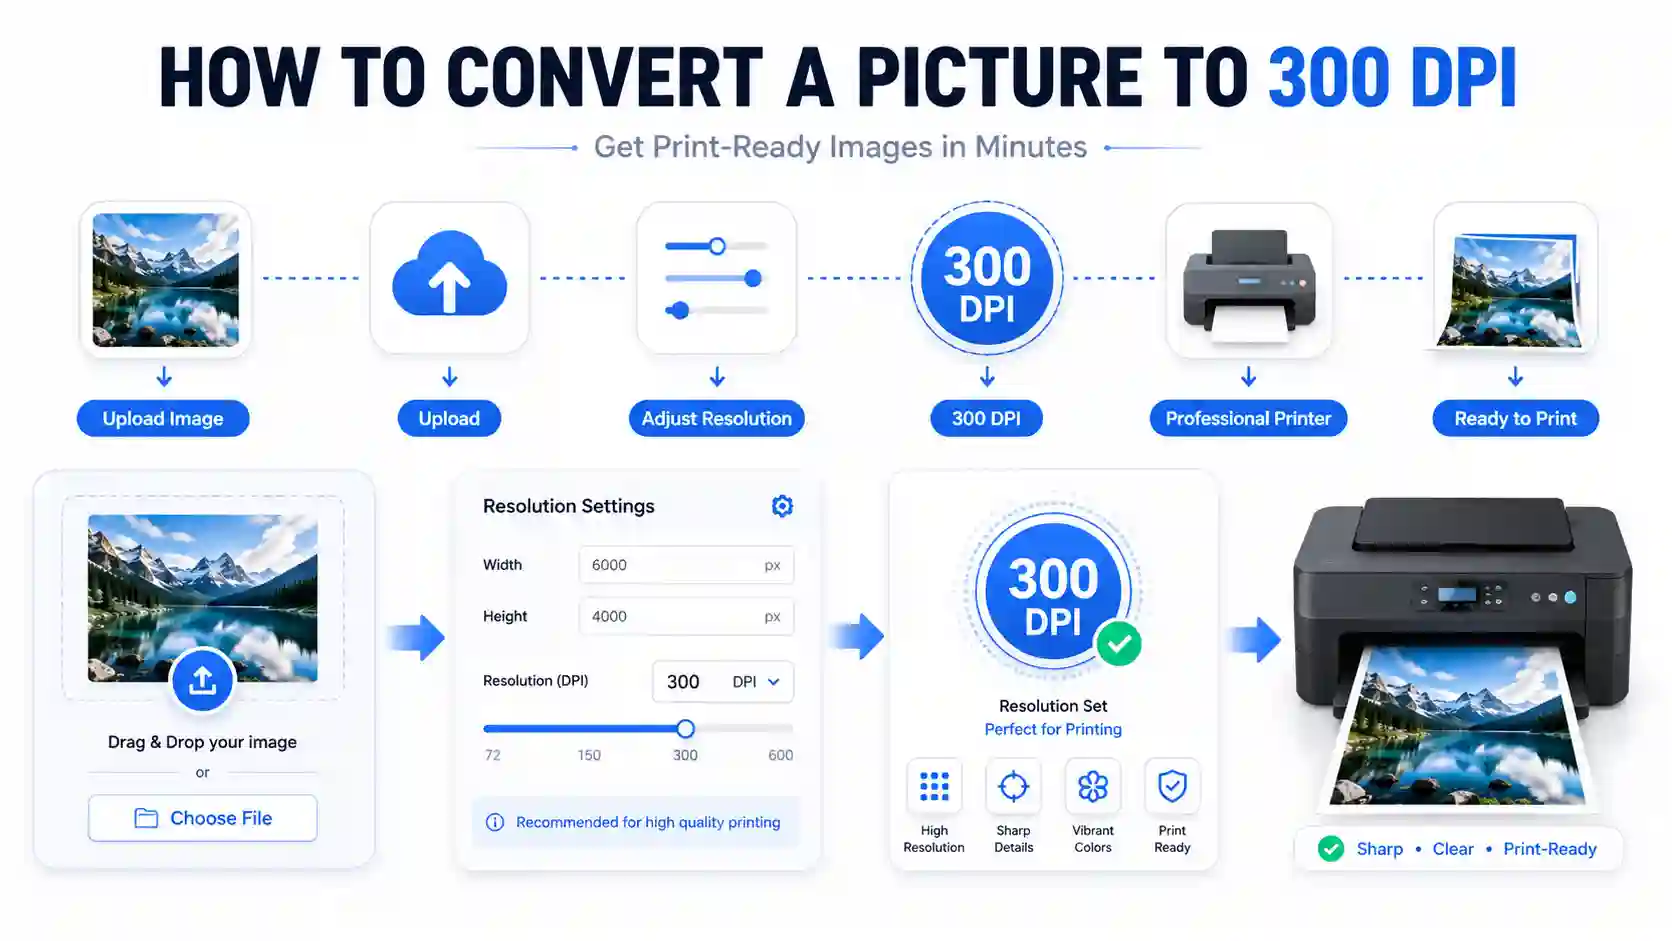
The short answer: The fastest and most reliable way to convert a picture to 300 DPI is to use a dedicated online DPI converter. This process adjusts the image's metadata to increase the print density, which is essential for high-quality prints. While you can use software like Photoshop, a specialized tool streamlines the process without the need for complex software or technical know-how.
In this comprehensive article, we’ll cover all you need to know about 300 DPI conversion. We'll discuss the technical aspects of DPI, compare different conversion methods, and provide a detailed, step-by-step walkthrough using a free online tool. We’ll also answer common questions to ensure you have all the information needed to get print-ready images. For anyone looking to standardize their image resolution, a DPI converter is an essential tool, and we’ll guide you on how to use one effectively.
Understanding DPI and Why 300 DPI Matters
Before diving into the "how," it’s crucial to understand the "what" and "why." DPI stands for Dots Per Inch. It’s a measure of spatial printing or video dot density, specifically the number of individual dots that can be placed in a line within the span of one inch. When we talk about a 300 DPI image, we mean there are 300 dots of ink or pixels per inch. This high density means the printer can produce very fine details, resulting in sharp, clear, and professional-looking images.
Why is 300 DPI the Standard?
The 300 DPI standard is deeply rooted in the printing industry. It's the magic number that balances image quality with file size. At 300 DPI, the human eye can't typically discern individual pixels, creating a smooth, continuous tone that looks like a photograph rather than a digital mosaic. This is why professional print services—for magazines, photo books, flyers, and business cards—almost always require images at 300 DPI. A convert image to 300 dpi service is often the first step in preparing files for such high-quality outputs. As Adobe explains in its DPI guide, this benchmark applies specifically to photographs, flyers, and business documents.
The Difference Between 72, 150, and 300 DPI
Understanding the difference between these common resolutions can help you decide when to use a convert to 150 DPI or 300 DPI tool.
Images at 72 DPI are standard for web use. They are small in file size, load quickly, and look fine on a computer monitor. However, if you try to print a 72 DPI image at a standard size, it will look pixelated. 150 DPI is a middle ground, often used for high-quality digital displays or basic office printing. It’s an improvement over 72 DPI but still lacks the sharpness needed for professional-grade prints. 300 DPI is the gold standard for high-quality prints, ensuring every detail is rendered clearly.
How to Convert a Picture to 300 DPI: Key Methods
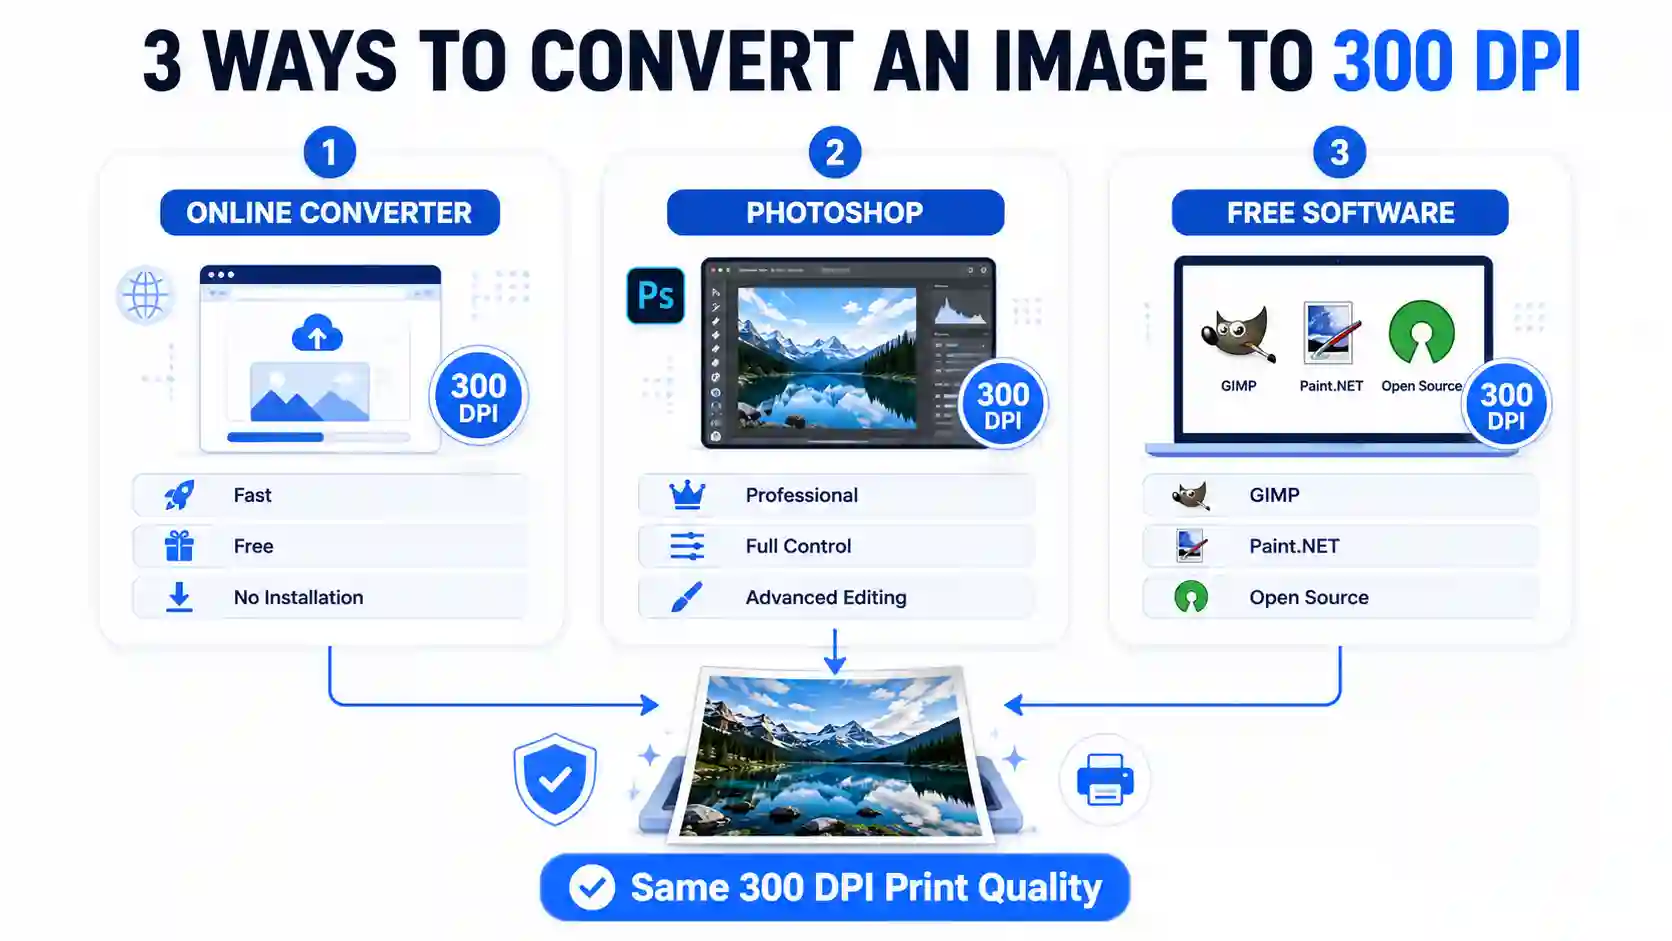
There are several approaches to converting a picture to 300 DPI, each with its own set of advantages and disadvantages. The right method for you depends on your technical comfort level, the software you have available, and whether you need a quick online solution or prefer offline software. A dpi converter can significantly simplify this process.
Method 1: Using a Dedicated Online DPI Converter
This is arguably the easiest and most accessible method for most people. Online tools are free, require no software installation, and work from any device with a web browser. They handle the technical aspects of converting the image's metadata (the DPI information) without altering the underlying pixel data, which is key to preserving the original quality. For those wondering how do I convert 96 dpi to 300 dpi, an online converter is the most straightforward answer.
Method 2: Using Adobe Photoshop
Photoshop is the industry standard for image editing and offers precise control over DPI settings. It's a powerful tool if you have access to it. For users asking how to convert low resolution image to 300 dpi, Photoshop provides a reliable method, though it requires a subscription and a learning curve. You can also refer to Adobe's official documentation on print resolution for more technical detail.
Method 3: Using Free Software (GIMP, Paint.NET)
For those on a budget, free open-source alternatives like GIMP (GNU Image Manipulation Program) offer similar functionality to Photoshop. They can be a great way to adjust DPI without the cost of professional software. Tools like Paint.NET also offer basic DPI adjustment options, though they may be less feature-rich.
Step-by-Step: Using a Free Online 300 DPI Converter
While the methods above are valid, a dedicated online tool like the Convert Image to 300 DPI tool from ImageConverter24 is specifically designed for this purpose, offering a user-friendly experience. Here’s a detailed walkthrough of how to use it to solve your problem.
If you're looking for a free 300 dpi converter, this tool is an excellent choice. The process is simple and designed to get you print-ready images in just a few minutes. Here’s how it works.
- Navigate to the Tool: Open your web browser and go to the Convert Image to 300 DPI page. The interface is clean and minimal, immediately presenting you with the main upload area. There are no confusing settings or banners to distract you, making it easy to begin.
- Upload Your Image: You'll see a clearly marked button or area that says "Upload" or "Choose File." Click it to open your file explorer, or simply drag and drop the image you want to convert directly onto the page. The tool supports a wide range of image formats, including JPG and PNG, which are the most common.
- Automatic Conversion: As soon as the image is uploaded, the tool gets to work. It automatically reads the image’s current DPI and processes it to set the resolution to 300 DPI. You’ll see a confirmation or a "Processing" indicator, which only takes a few seconds. For a user wondering photo ko 300 dpi me convert kare (convert photo to 300 DPI), this tool makes it incredibly simple.
- Download Your 300 DPI Image: Once the process is complete, a "Download" button will appear. Click it, and your new 300 DPI image will be saved to your device. The tool maintains the original image's quality, simply adjusting the DPI metadata for print readiness.
Why This Tool Works for This Problem: This converter is specifically tailored for this task. Unlike general-purpose image editors, it focuses solely on DPI conversion, ensuring the process is optimized and error-free. It’s the perfect solution for users who need a quick and reliable image dpi converter without any of the bloat. For those wanting to create 300 dpi image files, this is one of the fastest routes.
Honest Limitation: File Size and Format
While the tool is excellent for adjusting DPI, it’s important to understand its capabilities. The 300 DPI conversion doesn't magically add detail to a very small or low-resolution image. If you upload a 100x100 pixel image and convert it to 300 DPI, it will still be a tiny image when printed. The tool adjusts the print density, not the image's pixel dimensions. To get a true print-quality photo, the image must have enough pixels to support a 300 DPI print at your desired size.
Troubleshooting: Image Not Converting?
Sometimes, an image might not upload or convert properly. This is often due to the file format being unsupported (like a .webp file) or the file size being too large (over 20MB). The tool works best with standard formats like JPG and PNG. If you encounter an issue, try saving your image as a JPG and re-uploading. This small step usually resolves any processing errors and is a common recommendation when using any online dpi converter.
Comparing 300 DPI Conversion Methods
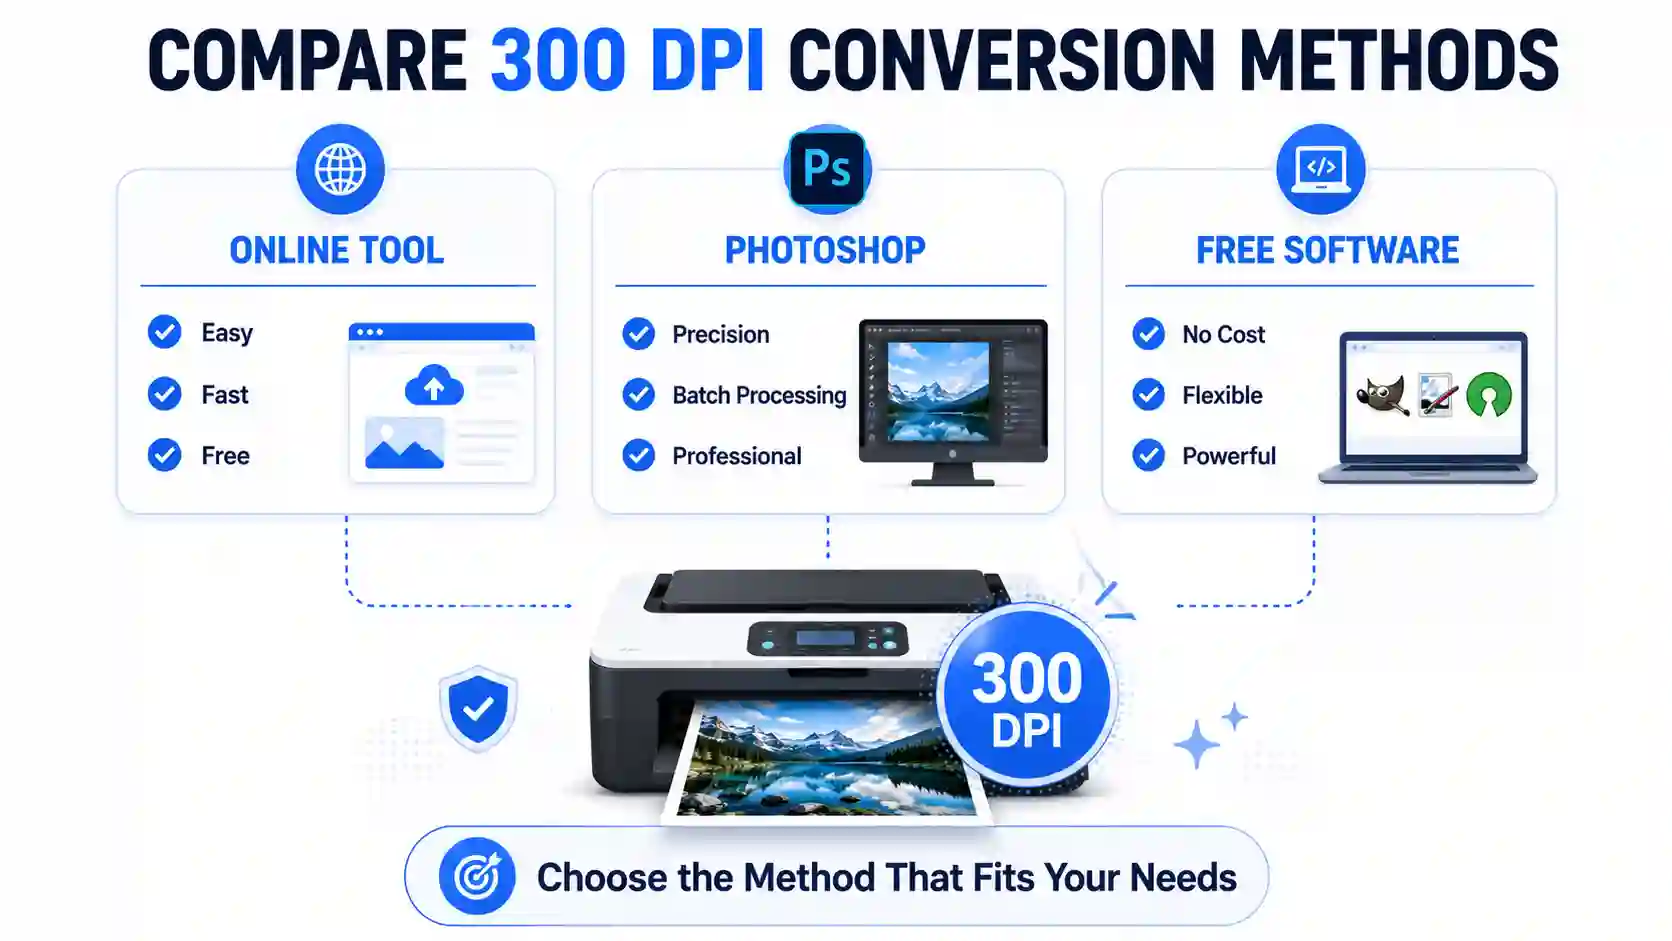
To help you decide which conversion method is right for you, here’s a comparison table outlining the pros and cons of each approach. Whether you're looking for an online dpi converter or a robust software solution, this table provides a clear overview.
| Method | Pros | Cons |
|---|---|---|
| Online DPI Converter | Free, no installation, works anywhere, very easy to use | Requires internet, may have file size limits, no batch processing |
| Adobe Photoshop | Full control, batch processing, high quality, other editing options | Expensive, steep learning curve, requires installation |
| Free Software (GIMP) | Free, powerful, supports many formats | Complex interface, requires installation, can be slow |
Advanced Tips for 300 DPI Image Preparation
Converting a picture to 300 DPI is often just one part of the print preparation process. To ensure the best results, consider these additional tips that address common questions like how to create a 300dpi image from scratch or improve existing ones.
Understanding Image Size vs. Resolution
Many people confuse DPI with image dimensions (width and height in pixels). DPI determines the print size, while the pixel dimensions determine the total amount of detail. For a print that is 6 inches wide at 300 DPI, you need an image that is at least 1800 pixels wide (6 inches x 300 DPI). If your image is smaller, you'll need to upscale it, which can often lead to a loss of quality. The best practice is to start with the largest, highest-quality image possible before using a 300 dpi image converter. For a deeper explanation of the difference between DPI and PPI, Adobe's PPI resolution guide is a useful reference.
When to Use 300 DPI vs. Other Resolutions
Always use 300 DPI for professional printing, such as business cards, brochures, and photo books. For large-format prints like banners or posters that are viewed from a distance, a lower DPI like 150 is often sufficient and can save on file size. For web use, 72 DPI is still the standard. If you are preparing an image for a magazine and your designer asks for 300 DPI, then a 300 dpi converter is exactly what you need. For other projects, a convert image to 300 dpi process might be overkill.
Software-Specific Questions (Canva, PDF)
We often see questions like how to convert pdf to 300 dpi or convert canva file to 300 dpi. For Canva, you typically export your design as a PDF Print, which often defaults to a high DPI setting. However, to be certain, you should check the export settings and select "PDF Print" which is optimized for 300 DPI. For PDFs, the process varies; you’ll need to use a PDF editor or a dedicated PDF-to-image converter that allows you to set the output DPI. An image to convert dpi tool can process images extracted from PDFs, but converting the PDF itself directly is a different process.
Troubleshooting Common 300 DPI Conversion Issues
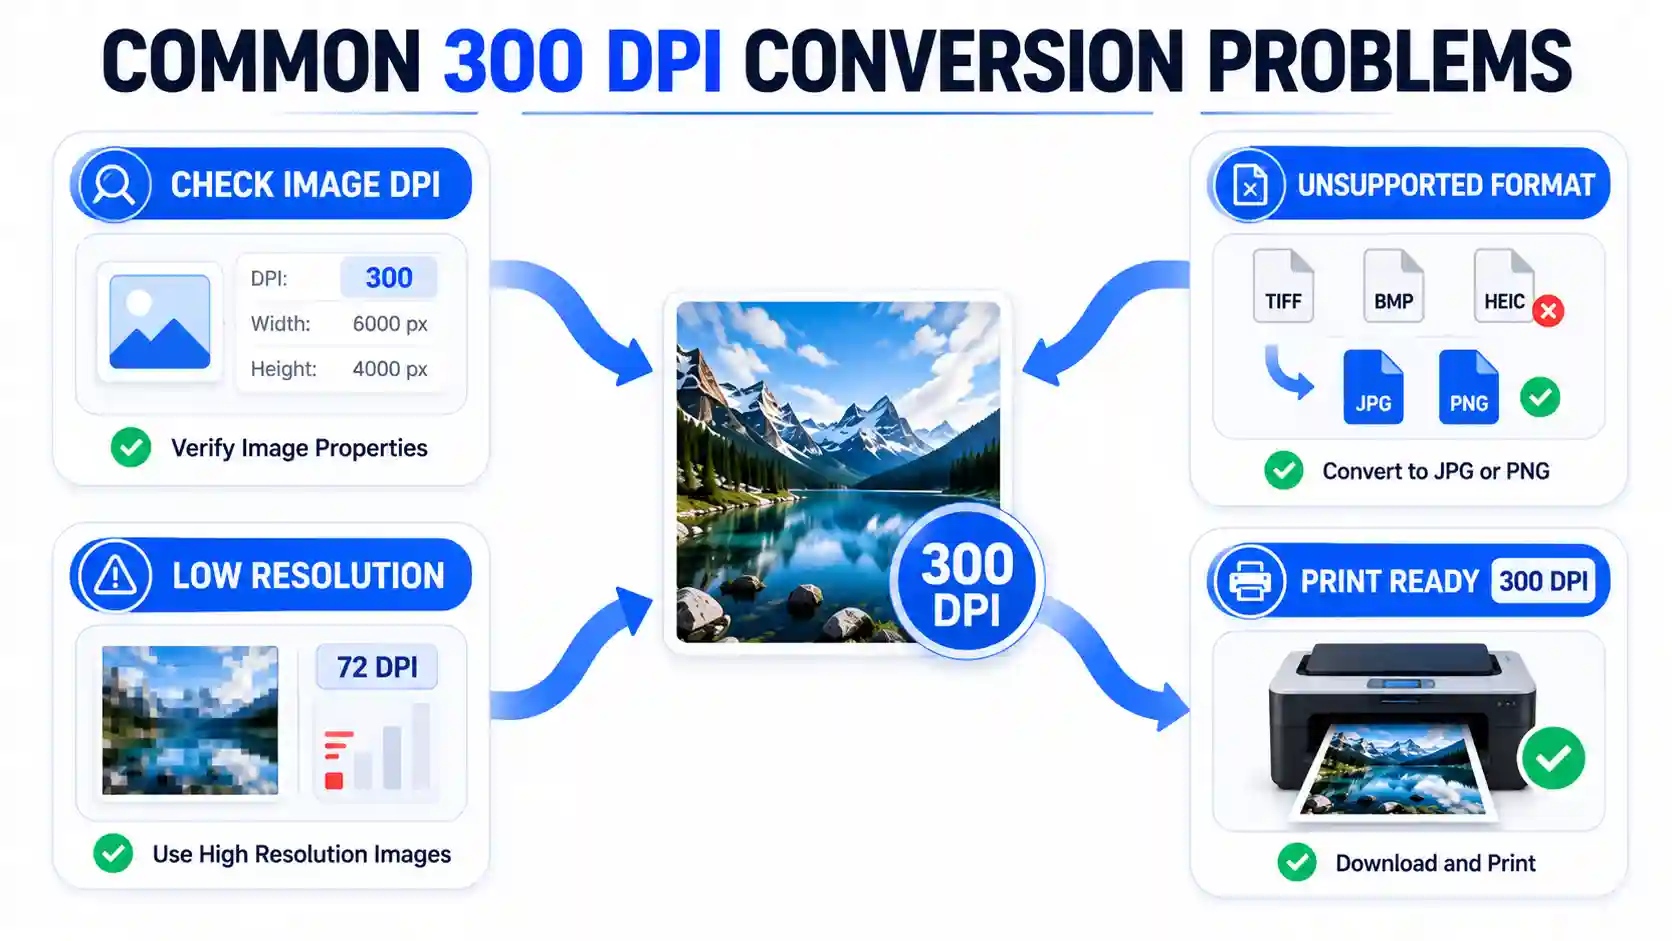
Even with the best tools, you might run into some challenges. Here’s a look at common questions and issues, including how to tell if your conversion was successful and what to do when things go wrong. For example, sometimes users want to convert 96 dpi to 300 dpi and are unsure if the process is working correctly.
How to Check Your Image's Current DPI
Before converting, you might want to check the current DPI. On Windows, right-click the image file, select "Properties," then go to the "Details" tab. You'll find the horizontal and vertical resolution listed. On a Mac, open the image in Preview, go to Tools > Show Inspector, and look for the DPI information. This is a great way to verify if you even need to use an image dpi converter in the first place.
Quality Loss When Converting DPI
A common fear, encapsulated in the question "Can I convert DPI without losing quality?" is whether the process will degrade the image. The answer is yes, but the key lies in the method. A good online converter, like the one we've discussed, changes the DPI metadata without altering the pixels themselves. This means the original image quality is preserved; you are just telling the printer how to interpret those pixels. Conversely, if you use an image editor to "resample" the image (changing the pixel dimensions), you risk degrading the quality. Our recommended tool primarily updates the metadata to create 300 dpi images without quality loss.
What to Do If Your Image is Already Low Resolution
If you're trying to convert low resolution image to 300 dpi and it doesn't look good, you're hitting a fundamental limitation. You can't create detail where none exists. In this scenario, you have two options: 1) Accept the loss of quality and print it smaller (e.g., a 300 DPI image intended for a 2x3 inch photo will look fine, but enlarging it will show pixelation). 2) Use advanced AI upscaling tools that "guess" the missing detail, but these can be inconsistent and often produce unnatural results. It's always better to start with a high-resolution original.
Frequently Asked Questions
Can a PNG file be 300 DPI?
Yes, PNG files can absolutely have a DPI of 300. The DPI is stored as metadata within the PNG file. However, PNGs are often associated with web graphics which are typically 72 DPI. When you use a DPI converter, you can set a PNG file to 300 DPI, making it suitable for high-quality printing, as long as its pixel dimensions are adequate. This is a common reason people seek a free 300 dpi converter.
What is 300 DPI in JPEG?
In a JPEG, 300 DPI means the same thing: it's the instruction that tells a printer to place 300 pixels of the image per inch of paper. Just like a PNG, a JPEG file can be set to 300 DPI. The JPEG format is actually more common for printing due to its smaller file size and wide compatibility. A convert photo to 300 dpi tool will often output in JPEG format to balance quality and file size for sharing.
How to find out if a photo is 300 DPI?
You can check the DPI of a photo using your computer's file properties. On Windows, right-click the file, select "Properties," and go to the "Details" tab. On a Mac, open the image in Preview and go to Tools > Show Inspector. You'll see the resolution listed under the image information. If it's not 300, you'll know you need to use a DPI converter.
What size image is best for 300 DPI?
The "best" size depends on your desired print output. To print an 8x10 inch photo at 300 DPI, you need an image that is 2400 x 3000 pixels (8 inches x 300 DPI). There is no single "best" pixel size, but the general rule is: the larger the print, the more pixels you need. A 300 dpi image converter ensures the DPI setting is correct, but you must also ensure you have enough pixels.
What does a 300 DPI image look like?
A 300 DPI image appears incredibly sharp and detailed, with smooth gradients and no visible pixelation. When you look closely at a high-quality magazine photo, you are seeing a 300 DPI print. The colors blend seamlessly, and fine lines like hair or text are crisp and clear. This is the visual standard that a 300 dpi converter aims to help you achieve.
How many MB is a 300 DPI image?
The file size in MB (megabytes) for a 300 DPI image depends on its pixel dimensions and the file format. A 300 DPI, 8x10 inch JPEG can be anywhere from 2 to 15 MB, while a PNG of the same size could be 20 MB or more. File size is determined by pixel count and compression, not just DPI. The image to convert dpi process will typically maintain a similar file size, as it's primarily changing metadata.
Can you change the DPI of a jpeg?
Yes, you can change the DPI of a JPEG. In fact, it's one of the most common file types to adjust, as it's frequently used for printing. Our recommended online dpi converter lets you change the DPI of a JPEG easily without losing quality, by modifying its metadata.
How to convert image to 300 DPI in Canva?
When you download a design from Canva, select "PDF Print" as the file type. This export option is specifically designed for high-resolution printing and generally results in a 300 DPI file. You don't typically need a separate convert image to 300 dpi tool if you use this export method, but it's always good to check the resulting file's properties to be sure.
How to get a resolution of 300 DPI?
You can get a resolution of 300 DPI in two ways: 1) When creating a new image, set the resolution field to 300 DPI in your design software. 2) For existing images, use a tool like the one recommended in this guide, or software like Photoshop, to adjust the DPI setting. This is the central function of any 300 dpi converter.
Conclusion
Converting a picture to 300 DPI is essential for anyone needing high-quality prints. Whether you're a professional designer, a photographer, or just someone preparing a photo for a frame, this guide has provided the tools and knowledge to get the job done. We've explored the technical aspects of DPI, compared different methods like Photoshop and GIMP, and provided a detailed look at how an online tool simplifies the process.
The easiest, most reliable way to convert your images is to use a dedicated, specialized tool. We recommend the Convert Image to 300 DPI tool from ImageConverter24 for its simplicity and effectiveness. It's the fastest way to take your digital photos and prepare them for stunning, print-worthy results. If you want to learn more about resolution options, you can also explore our guide on the Convert to 150 DPI tool.
By following the steps and advice in this article, you'll be able to confidently create 300 dpi images that are ready for the printer. This will ensure your photos look their absolute best, capturing every detail as intended. For more tools and guides to help with your image conversion needs, be sure to check out the Best Free Image Converter Online and our Best DPI Converter for Multiple Files Free guides.