Your Guide to Free Online Image Conversion for Laser Engraving
Laser engraving is a fantastic way to personalize items, create custom gifts, or add professional detailing to projects. At its core, it's a process where a laser beam removes the surface layer of a material to etch a permanent design. However, sending a regular photo directly to the engraver rarely works. The machine needs a specific type of file—one with high contrast and clear lines—to know exactly where to burn.
This is where free online conversion tools become invaluable. For hobbyists, small business owners, or designers, they eliminate the need for expensive, complex software. In minutes, you can transform a sentimental photo, a company logo, or a simple sketch into a laser-ready file, saving significant time and effort while unlocking your creative potential.
Choosing the Right Image for Laser Engraving
Success starts with choosing a suitable image. Not all pictures engrave well. The laser interprets shades of gray as different power levels or speeds, so simplicity and contrast are your best friends.
Here’s what to look for:
- High Contrast & Clear Edges: Images with a stark difference between the subject and background (like a black logo on a white page) yield the cleanest results.
- Simple Graphics are Ideal: Logos, icons, signatures, line art, and silhouettes are perfect candidates. They have defined boundaries that convert beautifully.
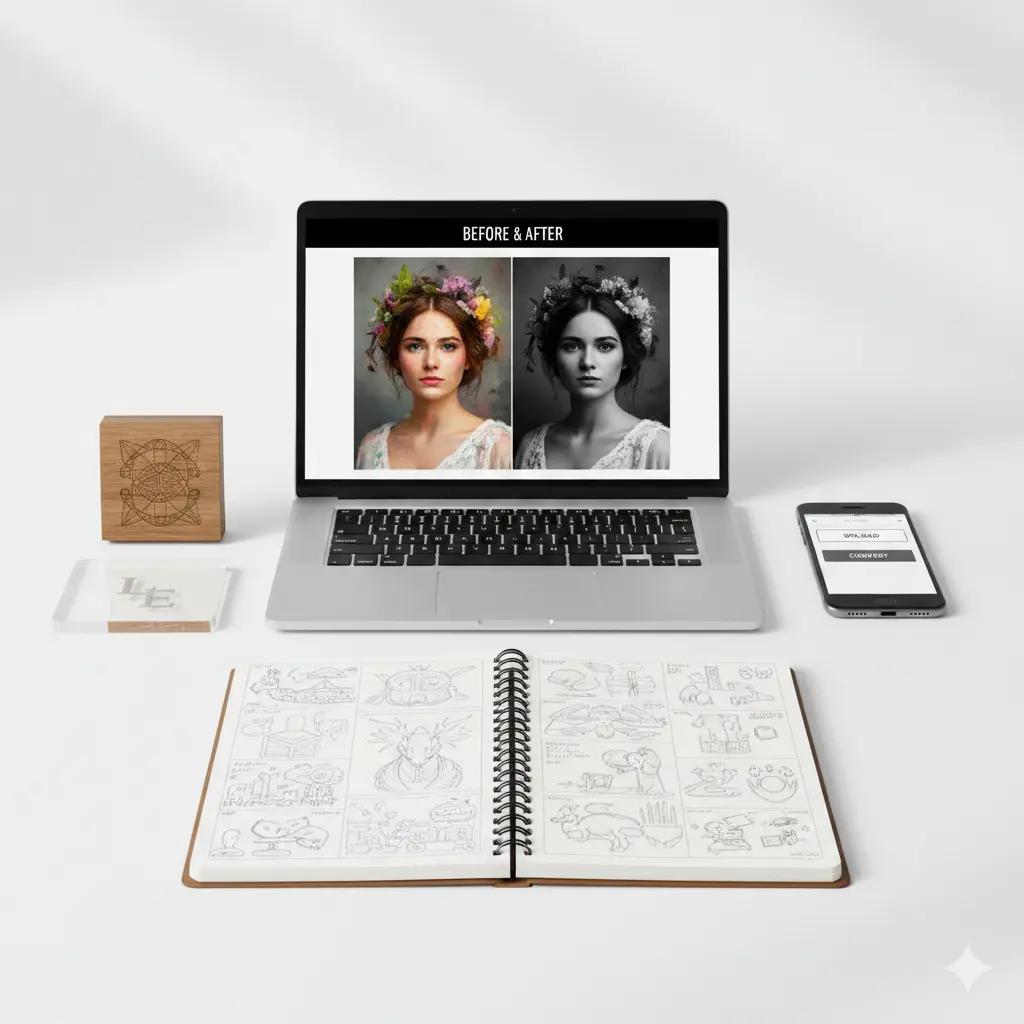
- Portraits Can Work: For portraits, choose a photo with even, dramatic lighting. A close-up with strong highlights and shadows will convert better than a flat, evenly-lit group photo.
- File Format & Quality: Start with the highest resolution possible (e.g., a PNG or high-quality JPG). A pixelated or blurry source image will only get worse after conversion.
📌 Important Note: Avoid images with subtle gradients, complex backgrounds (like busy foliage), or fine, textured details (like animal fur). These often turn into a muddy, indistinct engraving. When in doubt, simpler is always better.
How to Convert Your Image Online: A Step-by-Step Guide
Thanks to smart, free web tools, converting an image is a straightforward process. These platforms use algorithms to analyze your photo and boost contrast, apply filters, and trace lines to create an engraving-friendly file (typically a black-and-white PNG, SVG, or BMP).
Follow these practical steps with any reputable free converter:
- Step 1: Select and Prepare Your Image 📌 Choose your image based on the criteria above. If possible, use basic photo editing (even on your phone) to crop in tight on the subject and adjust brightness/contrast slightly before uploading. This gives the converter a head start.
- Step 2: Upload to a Free Online Tool 📌 Go to a free conversion website (like Pixelcut.ai, Atomm Laser Prep, or ImagR). Look for a button that says "Upload," "Choose File," or drag and drop your image directly into the browser window.
- Step 3: Adjust the Conversion Settings 📌 This is the most important step! After upload, the tool will show a preview. You will usually find sliders or options for:
- Contrast/Brightness: Crank up the contrast to make darks black and lights white.
- Threshold: This turns grayscale into pure black & white. Adjust until details are clear but not noisy.
- Detail/Simplify: Find a balance where important features are kept but background noise is removed.
- Material Preset: Some advanced tools let you select "Wood," "Acrylic," or "Metal" to optimize the output.
- Step 4: Download and Verify Your File 📌 Once satisfied with the preview, click "Convert," "Process," or "Download." Save the file (PNG is a versatile and common format). Always open the downloaded file and zoom in. Check that lines are smooth, edges are sharp, and no important parts have disappeared.
Comparing Popular Free Online Converters
| Tool Name | Key Features | Output Format |
|---|---|---|
| Pixelcut AI | Material-specific optimization, detailed prompt input. | PNG, SVG |
| Atomm Laser Prep | Fully automated, simple "upload-optimize-download" flow. | PNG |
| ImagR | Step-by-step editor, basic cropping/resizing, material selection. | PNG, JPG |
Pro-Tips for Flawless Laser Engraving Results
Converting the file is half the battle. To ensure your physical engraving turns out perfectly, follow these best practices:
- Always Run a Test Engrave: Never engrave directly onto your final, expensive material. Use a scrap piece of the same material (wood, acrylic, coated metal) to test the file's speed, power, and clarity settings on your machine.
- Simplify Backgrounds Manually: If your image has a busy background, use the online tool's "erase" or "background removal" feature before conversion, or remove it in a basic editor. A clean background ensures the laser focuses only on your subject.
- Know Your Material: Different materials react differently. Leather and wood can handle more detail than glass or marble. Your test engrave will show you what level of detail is possible.
- Vector vs. Raster: Most free online tools create raster files (like PNG). For logos or text, a vector file (like SVG) is superior as it scales infinitely without quality loss. Some converters offer SVG output—use it for crisp, clean edges on scalable designs.
"The magic of laser engraving lies in its precision. The real skill is in preparing the digital file so that the laser has perfectly clear instructions. A few minutes spent optimizing contrast online can save you from a ruined piece of material and hours of frustration."
Troubleshooting Common Conversion Problems
Things don't always go perfectly on the first try. Here’s how to diagnose and fix common issues:
- Problem: The engraving looks "muddy" or blotchy.
Solution: Your original image likely had too many mid-tones or gradients. Go back to the converter, increase the "contrast" and "threshold" settings significantly to force more areas to pure black or white. - Problem: Fine details disappeared in the engraving.
Solution: You may have over-simplified or used a threshold that's too high. Re-convert with a lower threshold or a "detail" slider adjusted to preserve finer lines. Remember, some details are too small to be physically engraved depending on your laser's power and spot size. - Problem: The file looks good on screen but engraves poorly.
Solution: This is almost always a machine setting issue, not a file issue. Double-check your laser's speed and power settings on a test piece. The material might also be unsuitable (e.g., trying to engrave a dark image on dark wood without enough power contrast).
Conclusion: Unleash Your Creativity with Confidence
Converting images for laser engraving online for free is an empowering skill that bridges the gap between digital ideas and physical creations. By starting with the right image, leveraging intuitive online tools, and following up with a material test, you can consistently produce professional-quality engravings.
The process demystifies a high-tech craft, making it accessible to anyone with a creative vision. Remember, the key ingredients are a high-contrast source image, patient adjustment of online tool settings, and the non-negotiable practice of test engraving. With this knowledge, you're ready to transform photos, logos, and artwork into lasting, personalized engravings without any software cost.
Your Next Step: Choose a simple, meaningful image—a pet silhouette, a favorite quote in a nice font, or a clean logo. Head to one of the free tools mentioned, experiment with the sliders, and create your first laser-ready file. The world of making is at your fingertips.