Best DPI Converter for Multiple Files Free
Managing image resolution across dozens or even hundreds of files is a tedious task. If you have a batch of photos, scanned documents, or design assets that all need a specific DPI, doing it one by one is a massive waste of time. This guide covers exactly how to change the DPI of multiple image files at once for free, without any software installation, file size limits, or mandatory account creation.
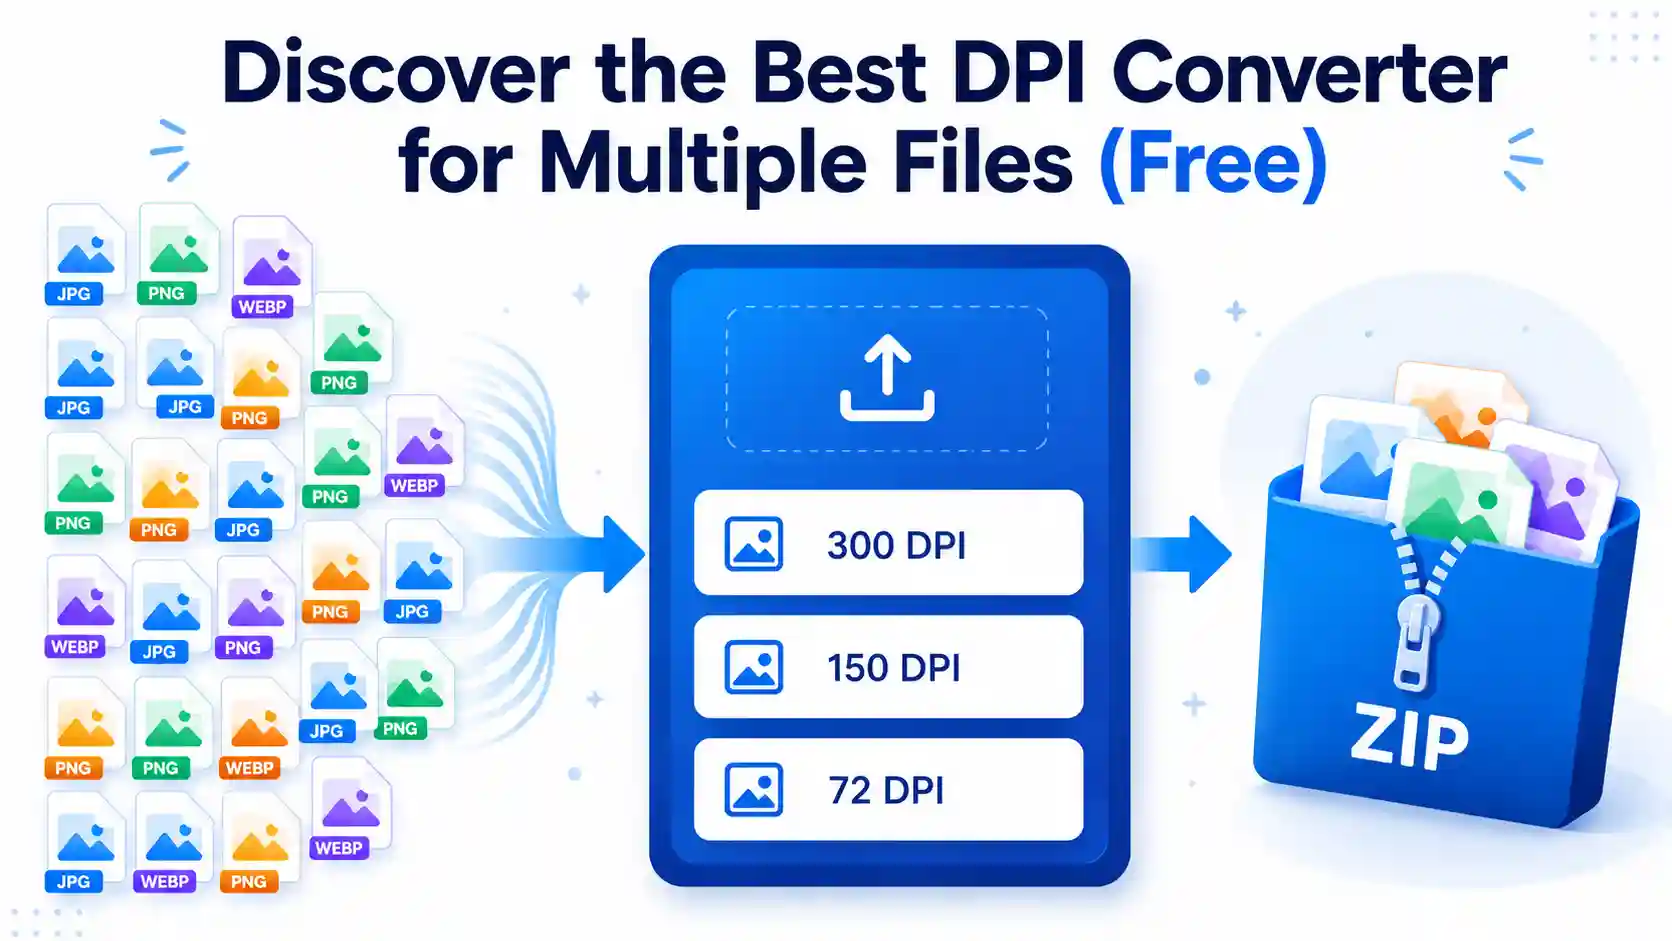
Short answer: The best way to convert the DPI of multiple files for free is to use a dedicated browser-based tool that processes all images simultaneously. Simply upload your files, select your target DPI (e.g., 300 DPI), and download the batch as a ZIP archive. This method eliminates repetitive work and ensures all images have consistent resolution settings, ready for printing or professional use.
This article covers everything you need to know, from the basic concept of DPI to why a specialized batch converter is the smartest solution. We’ll walk you through a step-by-step guide, share specific use cases, and answer common questions so you can handle any image resolution task with confidence.
What Is DPI and Why Does It Matter for Multiple Files?
DPI stands for Dots Per Inch. It's a measure of printing resolution, indicating how many individual ink dots a printer can place within a one-inch line. A higher DPI, such as 300, results in sharper, more detailed prints, while a lower DPI like 72 is standard for digital screens where details are less crucial.
When Do You Need to Convert DPI for Multiple Files?
There are several scenarios where changing the DPI for a batch of images becomes essential:
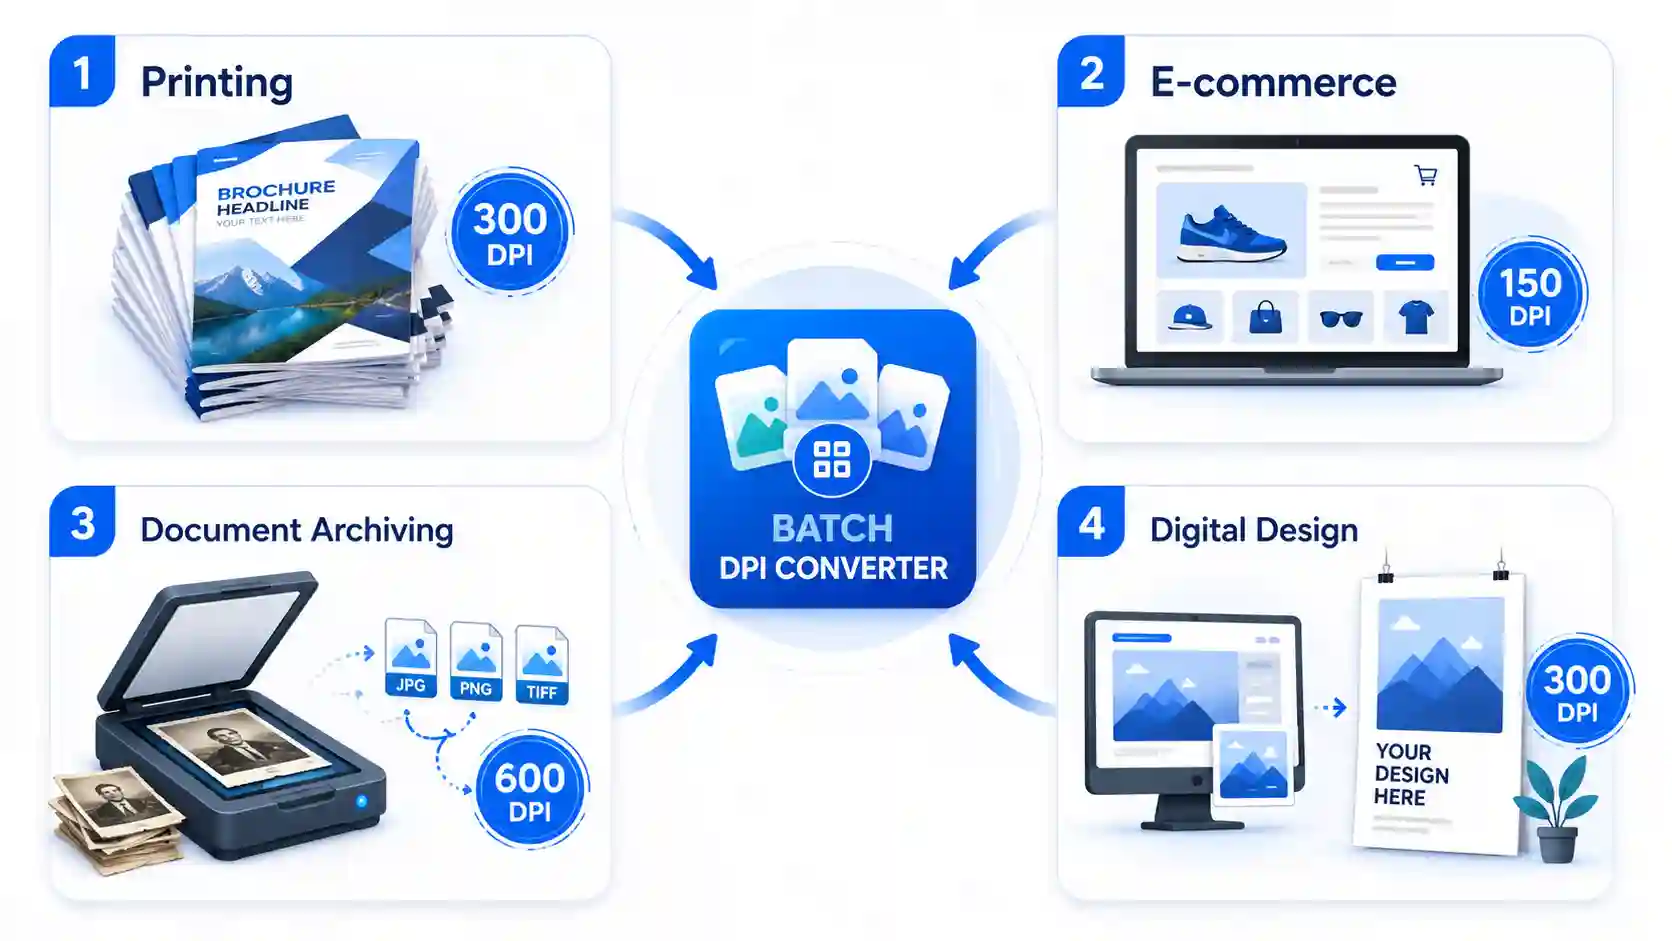
- Print Publishing: Magazines, brochures, and books almost always require 300 DPI images. If you're a designer submitting a project, all your assets must meet this standard.
- Inventory Photos: E-commerce stores often need product images at a specific resolution, like 150 DPI, to balance quality and website loading speed.
- Digital Archiving: Scanning old documents or photos at a high DPI (like 600 or 1200) preserves detail, but you may need to convert a large batch to a standard 300 DPI for sharing or consistent formatting.
- Converting Digital Assets: Images created for the web are often at 72 DPI. Converting a whole folder of these to 300 DPI is necessary if you plan to use them in printed materials, such as flyers or posters.
Quick Reference: Common DPI Values and Their Uses
Not sure which DPI value your batch actually needs? The table below summarizes the most common values used across web, home printing, and professional print production.
| DPI Value | Typical Use Case | Notes |
|---|---|---|
| 72 DPI | Legacy screen resolution, basic web images | The original screen-resolution standard; still the default export value in many image tools even though modern monitors are far denser. |
| 96 DPI | Modern web/screen default | The default resolution used by most current operating systems and design apps for on-screen content. |
| 100–150 DPI | Large posters and banners | Since posters and banners are viewed from a distance, the eye needs far less dot density than a document held in the hand. |
| 150–200 DPI | Home photo printing, newspapers | A practical middle ground that balances sharpness with smaller, easier-to-handle file sizes. |
| 300 DPI | Professional printing: magazines, brochures, business cards, photos | The industry standard for print, since it approximates the limit of detail the human eye can resolve at normal reading distance. |
| 600 DPI | Fine art reproduction, archival scans, detailed graphics | Used when very fine detail matters; doubling DPI roughly quadruples the amount of image data and file size. |
| 1200+ DPI | Laser printers, small text, technical drawings, professional scanning | Reserved for specialized professional output where extremely fine lines or tiny text must stay crisp. |
Sources: PrintNinja – Print DPI Guide, FeetToPixels – DPI Conversion Table, 4OVER4 – Image Resolution DPI Explained.
Manually adjusting each file through Photoshop or GIMP is not only time-consuming but also impractical for large batches. This is where an efficient DPI converter that supports multiple files becomes invaluable.
Why a Dedicated Batch DPI Converter Is the Best Solution
The sheer volume of files in modern workflows demands automation. While desktop software like Adobe Photoshop offers batch processing, it's expensive and complex. Free online photo editors typically restrict users to one file at a time. A purpose-built image DPI converter for multiple files addresses these pain points directly, offering speed, simplicity, and zero cost.
After exploring the technical needs behind converting multiple image files, the most direct way to actually do this is to use a tool like Image Converter 24's DPI Converter. Here is a step-by-step walkthrough of the experience:
- Access the Tool: Go to Image Converter 24 and find the "DPI Converter" tool. The page loads quickly, presenting a clean interface with a large blue upload area in the center.
- Upload Your Files: Click the "Choose Files" button or drag and drop your images directly into the designated area. You can select multiple files from your computer at once (e.g., Ctrl+Click or Shift+Click). The interface visually acknowledges each file added with a thumbnail and a progress bar as it's uploaded.
- Set Your Target DPI: Below the upload area, you'll see a dropdown or input field for setting the target DPI. Here, you can type your desired value, such as 300, 150, or 72. The tool also has preset buttons for common values like 300 and 72, making it incredibly fast.
- Initiate the Conversion: With your files uploaded and the target DPI set, click the "Convert All" or "Start" button. The tool processes each image. On a standard internet connection, a batch of 20 images typically converts in under 30 seconds.
- Download the Results: Once the conversion is complete, the page updates with a "Download All" button. Clicking this automatically packages all of your converted images into a single ZIP file and starts the download.
This tool is specifically effective for batch processing because it maintains the original dimensions and color profile of your images while adjusting the DPI metadata—a process that can be surprisingly complex in other apps.
Important Note on File Sizes: While the Image Converter 24 tool is remarkably fast, there is a maximum file size limit. For most users, this is rarely an issue, but if you are working with massive, uncompressed TIFF files from a professional camera, you may need to check the individual file size limit (typically around 10-20MB per file) before starting your batch conversion. This transparency ensures users know the tool's boundaries upfront.
Troubleshooting Tip: ZIP File Extraction
After downloading the ZIP archive, you'll need to extract the individual images. Right-click the ZIP file and select "Extract All" (Windows) or double-click it to open (Mac). If the download is interrupted, the tool allows you to re-upload and convert again without penalty, making the process hassle-free.
Key Features of a Free, Fast, and Unlimited DPI Converter
When evaluating a DPI converter, several features define its quality and usability. The following table compares the capabilities of a premium-grade batch converter against basic alternatives.
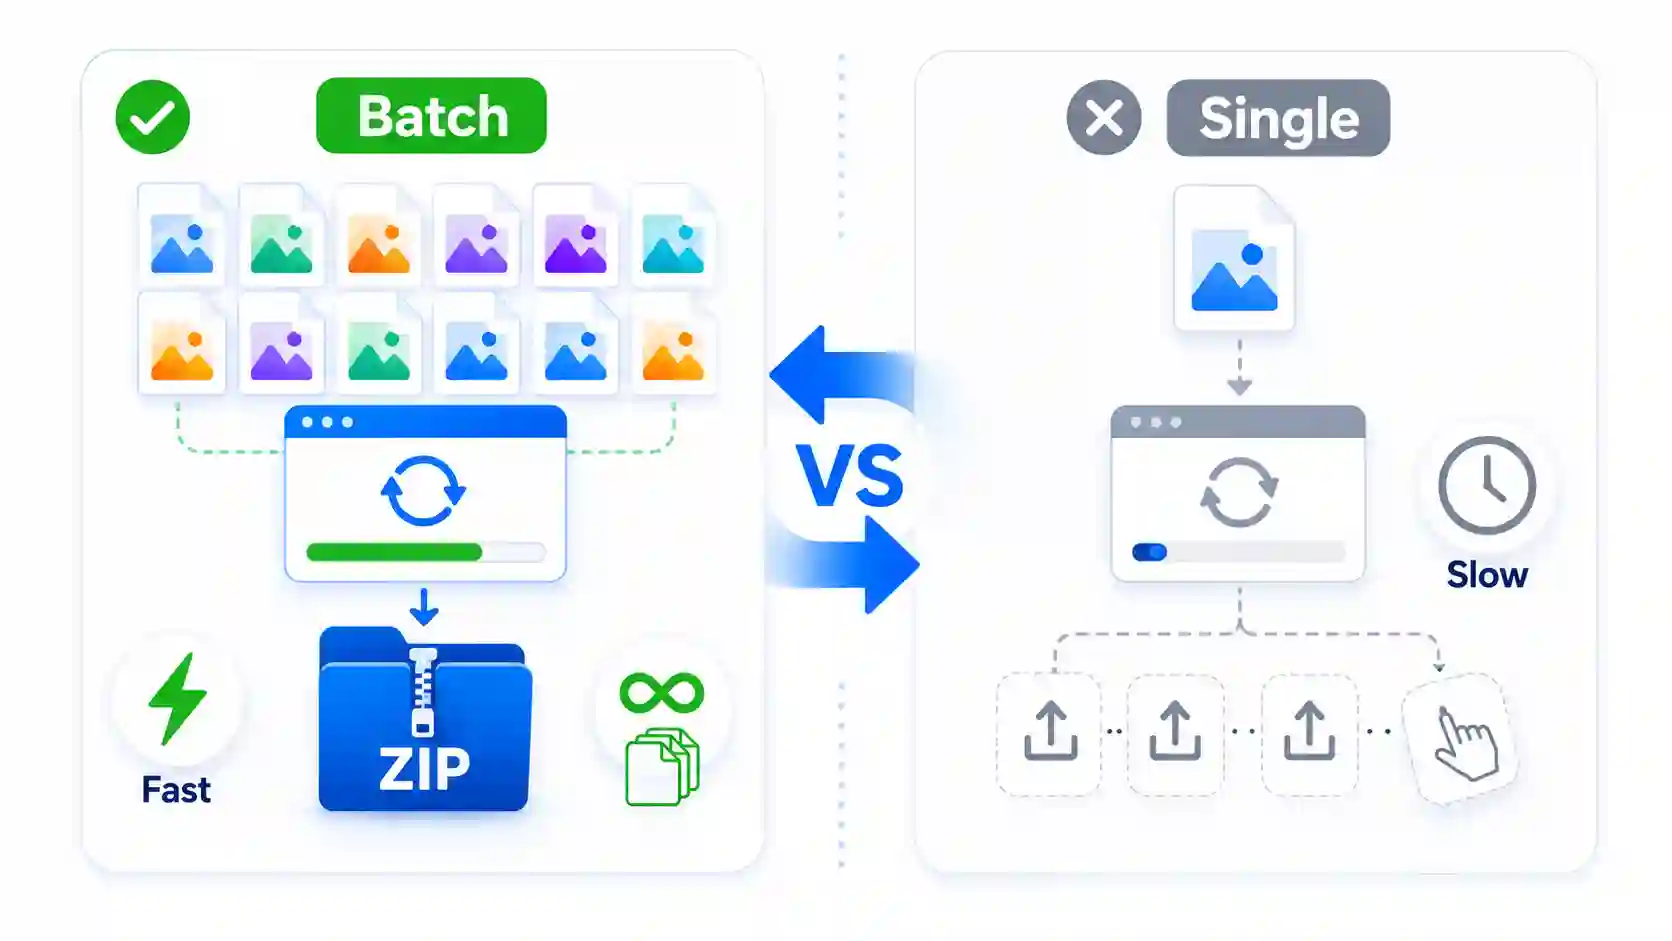
| Feature | Batch DPI Converter (e.g., Image Converter 24) | Standard Single-File Converters |
|---|---|---|
| Maximum Uploads | Unlimited (Batch) | 1-5 Files |
| Processing Speed | Very Fast (Parallel Processing) | Slow (One at a Time) |
| Sign-Up Required | No | Often Yes |
| Format Support | JPG, PNG, WebP, BMP | JPG/PNG Only |
| Custom DPI Values | Yes (Any Number) | Limited Presets (72, 300) |
| Output Format | Individual Files or ZIP | Individual Files |
Supported Image Formats Compared
Before batch-converting, it helps to know how the formats a DPI converter supports actually differ — not just in the DPI metadata they can carry, but in compression and transparency, which affect file size and print suitability.
| Format | Compression Type | Transparency Support | Best For |
|---|---|---|---|
| JPG / JPEG | Lossy | No | Photographs and complex images where small file size matters most; universally supported. |
| PNG | Lossless | Yes (full alpha channel) | Logos, screenshots, graphics with text or sharp edges; produces larger files for photographs. |
| WebP | Lossy or Lossless | Yes | Modern web use; typically 25–35% smaller than JPG at similar visual quality while still supporting transparency. |
| BMP | Typically Uncompressed | Limited | Legacy Windows applications and raw editing workflows; results in much larger files than PNG or JPG. |
Sources: MDN Web Docs – Image File Type and Format Guide, DesignExporter – Canva Export Settings for Print.
Top Use Cases for Converting DPI in Bulk
Understanding the specific contexts where a bulk image to convert DPI is needed can help you see the value beyond a simple spec change.
Print Design and Publishing
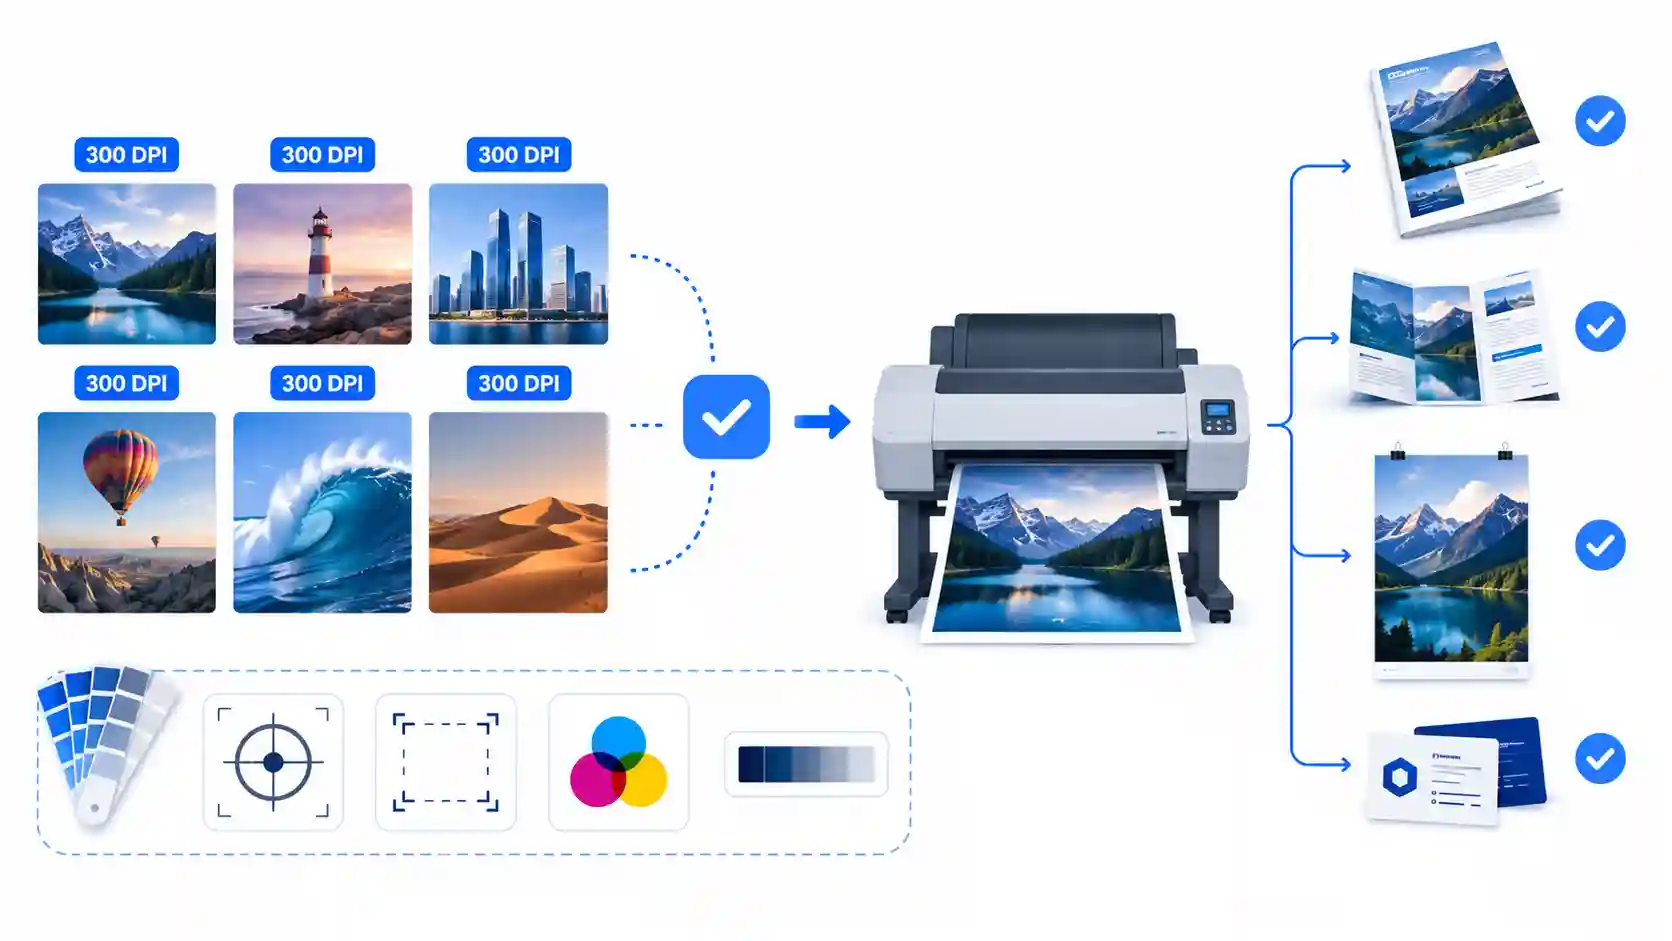
For graphic designers and print professionals, ensuring all client-provided images are at 300 DPI is non-negotiable. Using a tool to convert image to 300 DPI in bulk saves hours of manual checking. Instead of opening each file in Photoshop, you can upload an entire folder of images and let the tool handle the 96 dpi to 300 dpi conversion or other adjustments seamlessly.
E-commerce and Product Photography
Online store owners often receive product photos from various sources with inconsistent DPI settings. By using an online DPI converter on a whole batch, they can standardize all images to 72 DPI for the web or 300 DPI for a print catalog. This ensures a consistent appearance across all listings.
Scanning and Document Archiving
Have you scanned a stack of old photos at 1200 DPI to capture detail? To save storage space and prepare them for a digital album, you can convert image dpi to 300 or 150 DPI across the entire batch. This maintains good quality while drastically reducing file size for sharing and archiving.
Converting Canva and Digital Graphics to Print
Many users ask, "How to convert a Canva file to 300 DPI?" Canva designs are often created at 72 DPI by default for digital use. While Canva allows you to export at higher DPI, it's not always perfect. A dedicated 300 DPI image converter can take your exported JPEGs or PNGs from Canva and quickly adjust the DPI for all your designs in one go.
Frequently Asked Questions
How to convert an image to 300 DPI?
To convert an image to 300 DPI, use an online DPI converter like the one on Image Converter 24. Upload your file, select or input "300" as the target DPI, and click convert. The tool will process your image and provide a downloadable file with the updated DPI metadata. For multiple files, simply upload them all at once and the tool will apply the setting to every image simultaneously.
Can 72 DPI change to 300?
Yes, absolutely. Changing an image from 72 DPI to 300 DPI is a common request. A DPI converter adjusts the metadata without resizing the pixel dimensions. However, it's important to understand that this doesn't "add" detail; it simply instructs a printer to use more dots per inch. For high-quality printing, starting with an image that has enough pixels (resolution) is crucial, but a free 300 DPI converter is the right tool for the job.
How to change DPI to 1000?
To change DPI to 1000, use a DPI converter that allows custom values. The Image Converter 24 DPI Converter lets you manually type "1000" into the target field. This is useful for high-resolution scanning or creating extremely high-detail digital files.
Is 600 DPI higher than 300dpi?
Yes, 600 DPI is significantly higher than 300 DPI. It means there are 600 dots of ink per inch, resulting in finer detail and sharper output. 600 DPI is often used for professional photographic prints or documents with very fine text. A 300 DPI image converter is used to downscale images to the standard print resolution.
How to get 300 ppi images?
Getting 300 PPI (Pixels Per Inch, often used interchangeably with DPI) images means setting your digital files to that resolution. You can achieve this by scanning at 300 PPI, exporting from software like Photoshop with a 300 PPI setting, or using a tool to convert image to 300 dpi online. For PDF converter needs, you can also export pages as high-resolution images and then batch convert them.
Is 800 or 1200 DPI faster?
When referring to mice or scanners, lower DPI settings are generally faster. A mouse at 800 DPI requires less physical movement on the screen compared to 1200 DPI, but this is a sensitivity setting. When scanning physical photos, scanning at 1200 DPI will take much longer than 800 DPI because the scanner captures more data.
How do I change to 800 DPI?
To change an image's DPI to 800, you need an image DPI converter that accepts custom inputs. Upload your image to a tool like Image Converter 24's DPI converter, type "800" into the DPI field, and process the file. The output will have the new 800 DPI metadata.
Conclusion
Converting the DPI of multiple images shouldn't be a bottleneck in your workflow. Whether you're a designer needing to standardize assets at 300 DPI for print, an e-commerce manager optimizing web images to 72 DPI, or an archivist managing scanned documents, a batch processor is the clear solution. The process is simple, fast, and free.
For anyone looking to convert an image's DPI, whether it's a single file or a folder full of photos, using a specialized tool is the most efficient path. For fast, unlimited conversions without the hassle of sign-ups, the Image Converter 24's DPI Converter is the best option. It handles everything from 96 dpi to 300 dpi conversions to custom values like 1000, all in a browser-based interface.